Raza
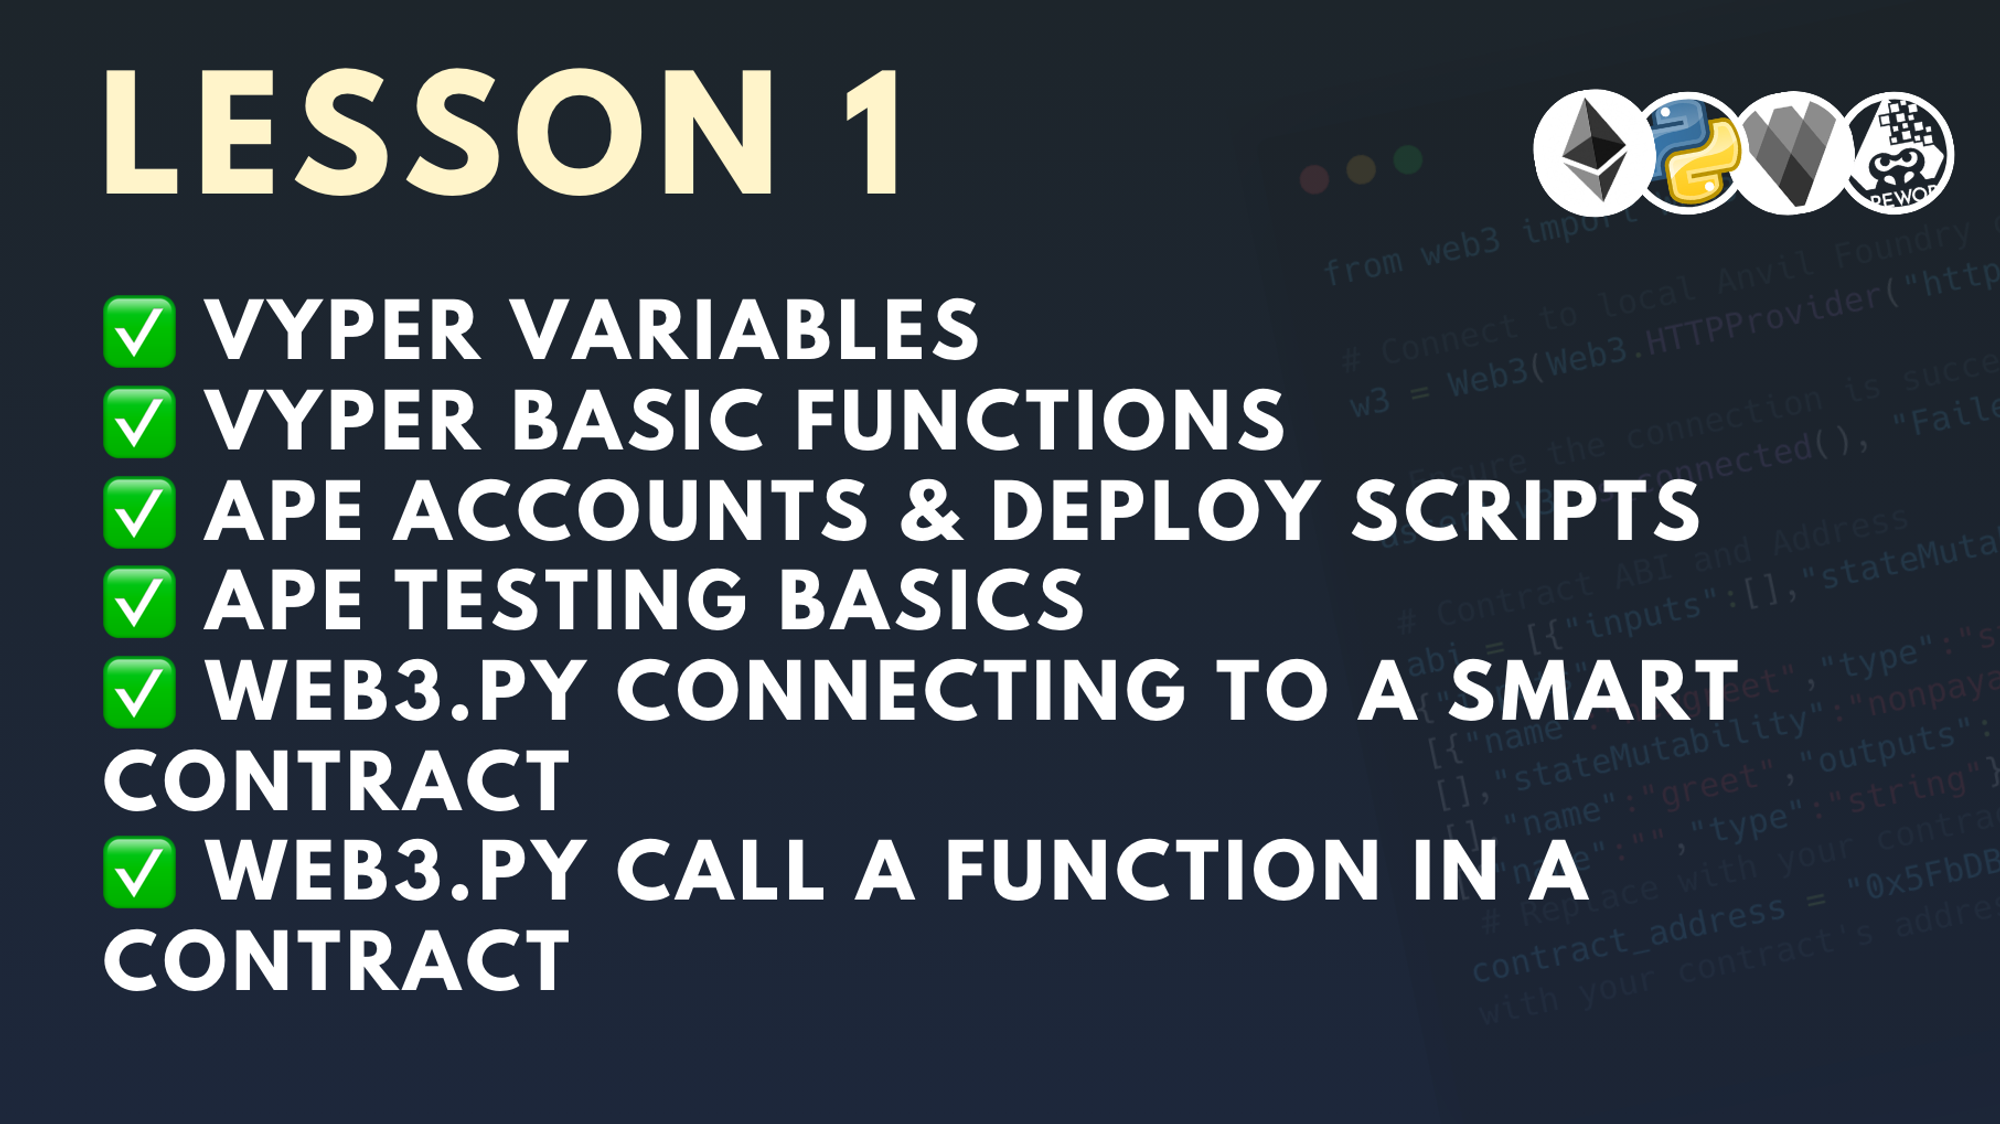
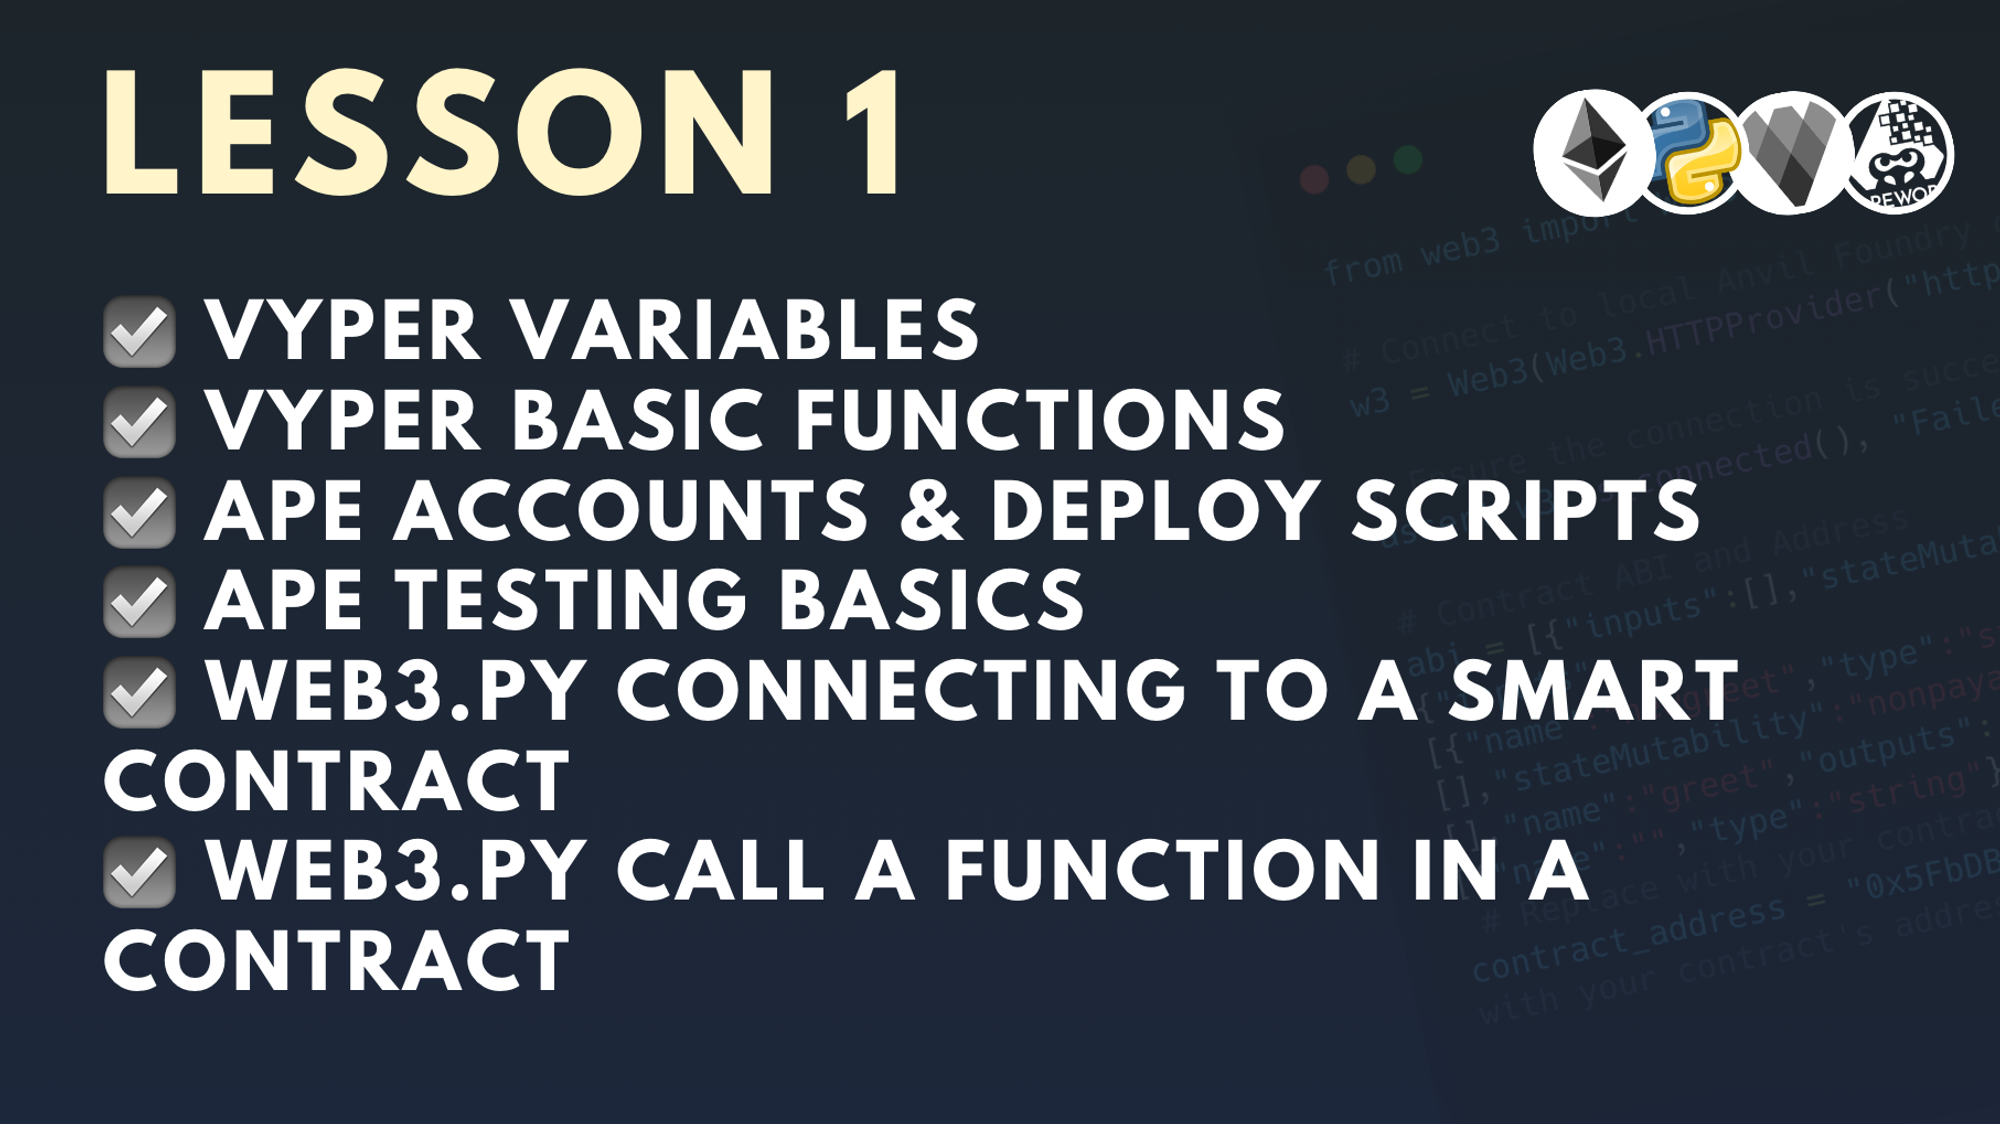
@razacodesPython Smart Contract Development for Beginners, Pt. 1
Created by:
Intro
Welcome to the Python Smart Contract Development series, where you will learn how to build, deploy, test and interact with smart contracts, using only Python. No need to learn a new language - you can use your existing skills to build in Web3 today!
Vyper vs. Solidity
💡
TL;DR: Using Python in the Web3 space allows you to build, test, and deploy smart contracts efficiently without switching languages, making it easier to transition to other tech stacks like Solidity later, as many of the fundamentals are similar.
If you’re new to Web3 you may have come across an established language, Solidity. Like alternative languages in any domain, Solidity and Vyper have trade-offs. In general though, you can accomplish the same things in either language.
As a Solidity developer, you can have a technology stack where you build, test, and deploy your smart contracts all using Solidity.
This lesson will introduce you to an alternative stack entirely using Python! The power of this lies in the simplicity. You dont have to switch between languages to test, build, and deploy. What’s even more awesome is that by learning this stack, your knowledge will largely transfer over if you decide to switch to a Solidity stack in the future. The fundamentals remain unchanged.
Virtual environment
💡
TL;DR: Create a virtual environment with: python3 -m venv ./myv, then activate it using: source ./myv/bin/activate.
As Pythonistas we like to keep a clean working environment, so we create virtual environments to install dependencies. A virtual environment is like creating a folder where we can install software and build our projects within a sandbox. If we want to use specific versions of our software, or something went wrong, we can just delete the virtual environment and create a new one easily.
Let’s spin up a virtual environment before exploring the tools in this lesson. If you run into issues creating a virtual environment, you may need to pip install a missing library. However as of Python version 3.3, the venv module should be included alongside your installation of Python. In a terminal windoww, run ths following command:
python3 -m venv ./myv
The command above creates a virtual environment named myv. You can give it whatever name you want. Activate the virtual environment by running:
source ./myv/bin/activate
If no errors are displayed, you're good to go!
Install Dependencies
It’s time to do thing... the thing we love. Start installing all the Python Libraries we need.
pip install vyper eth-ape web3 ape-vyper
Let's break down what each of these libraries are.
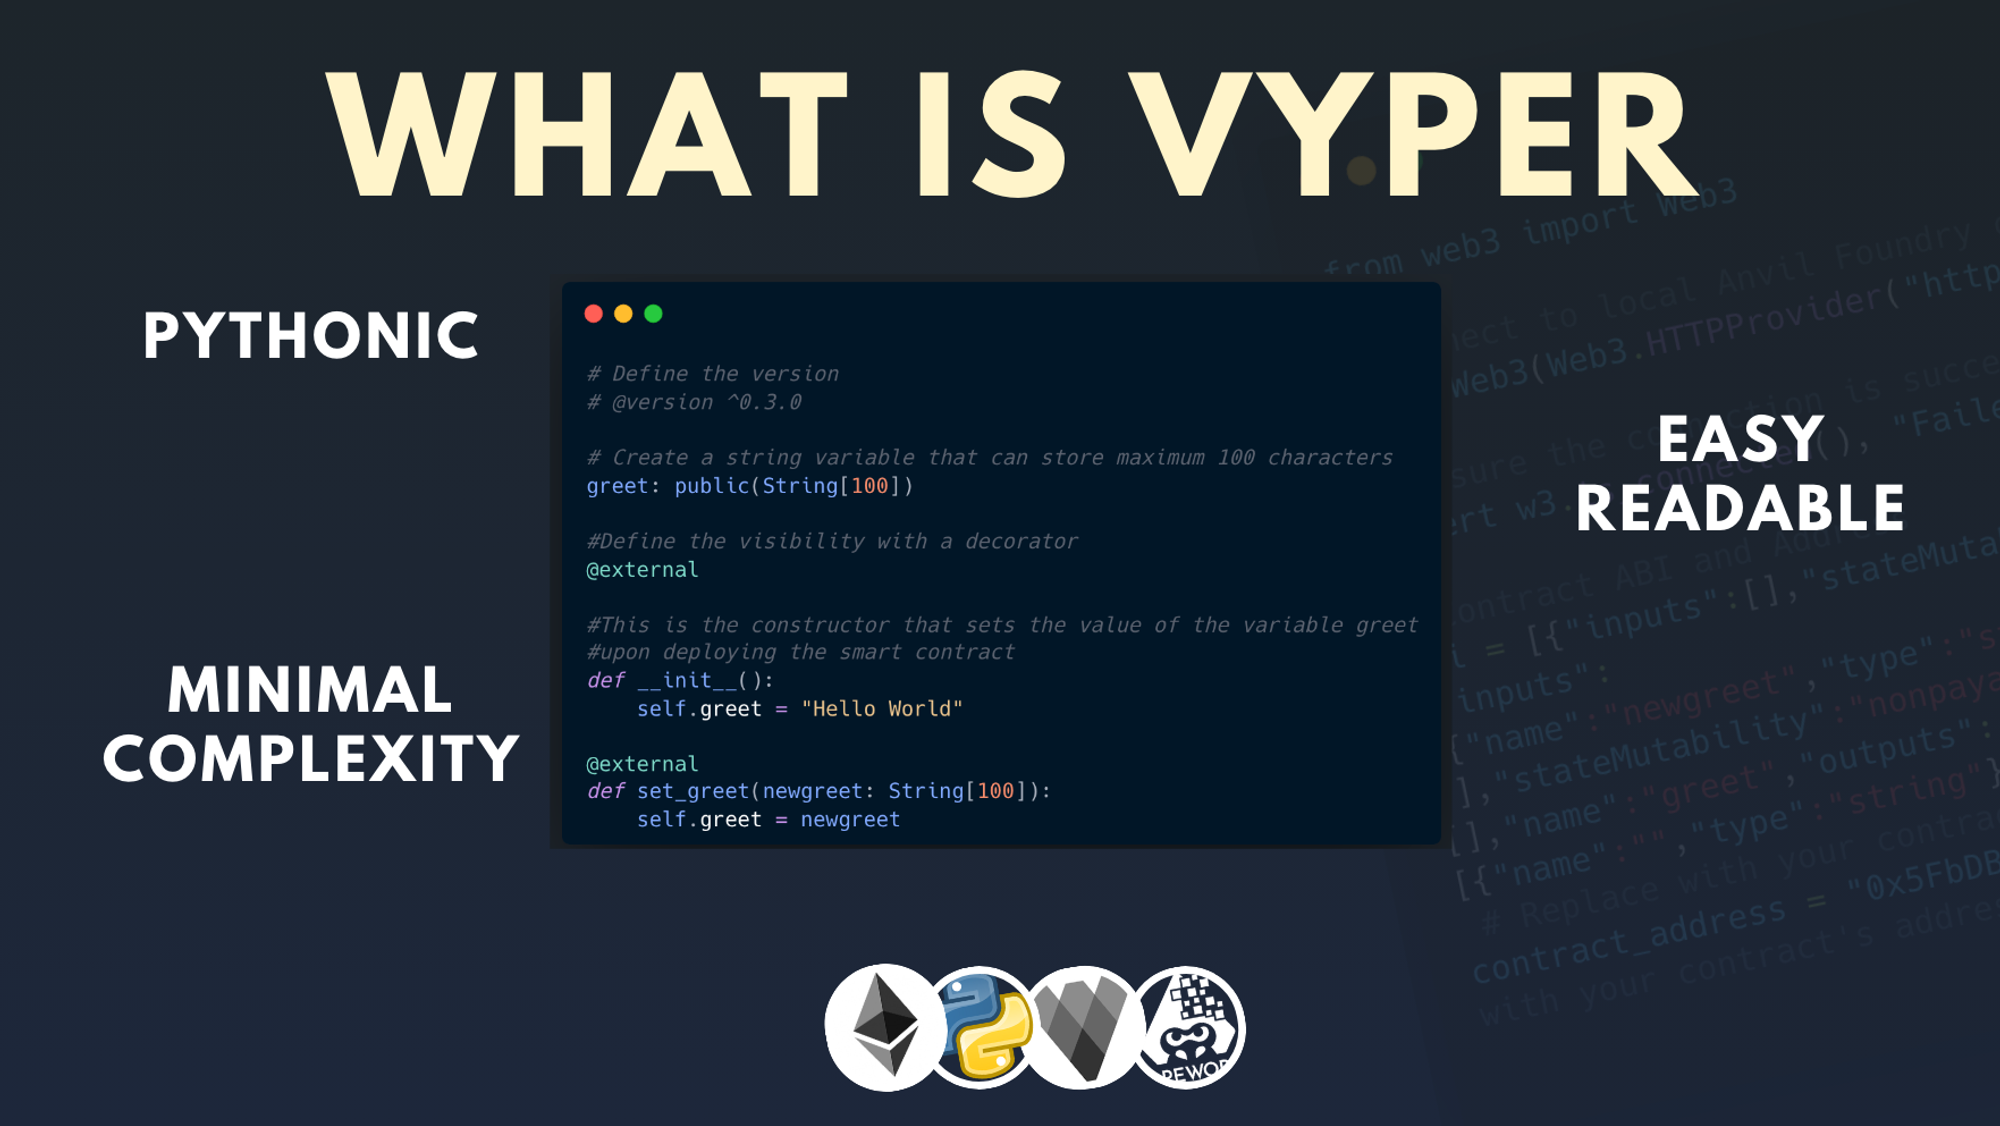
Vyper
Vyper is a programming language for writing smart contracts, known for its approachability. This language is Pythonic, meaning it looks and feels a lot like Python. Those already comfortable with Python need only learn the few nuances unique to smart contract development.
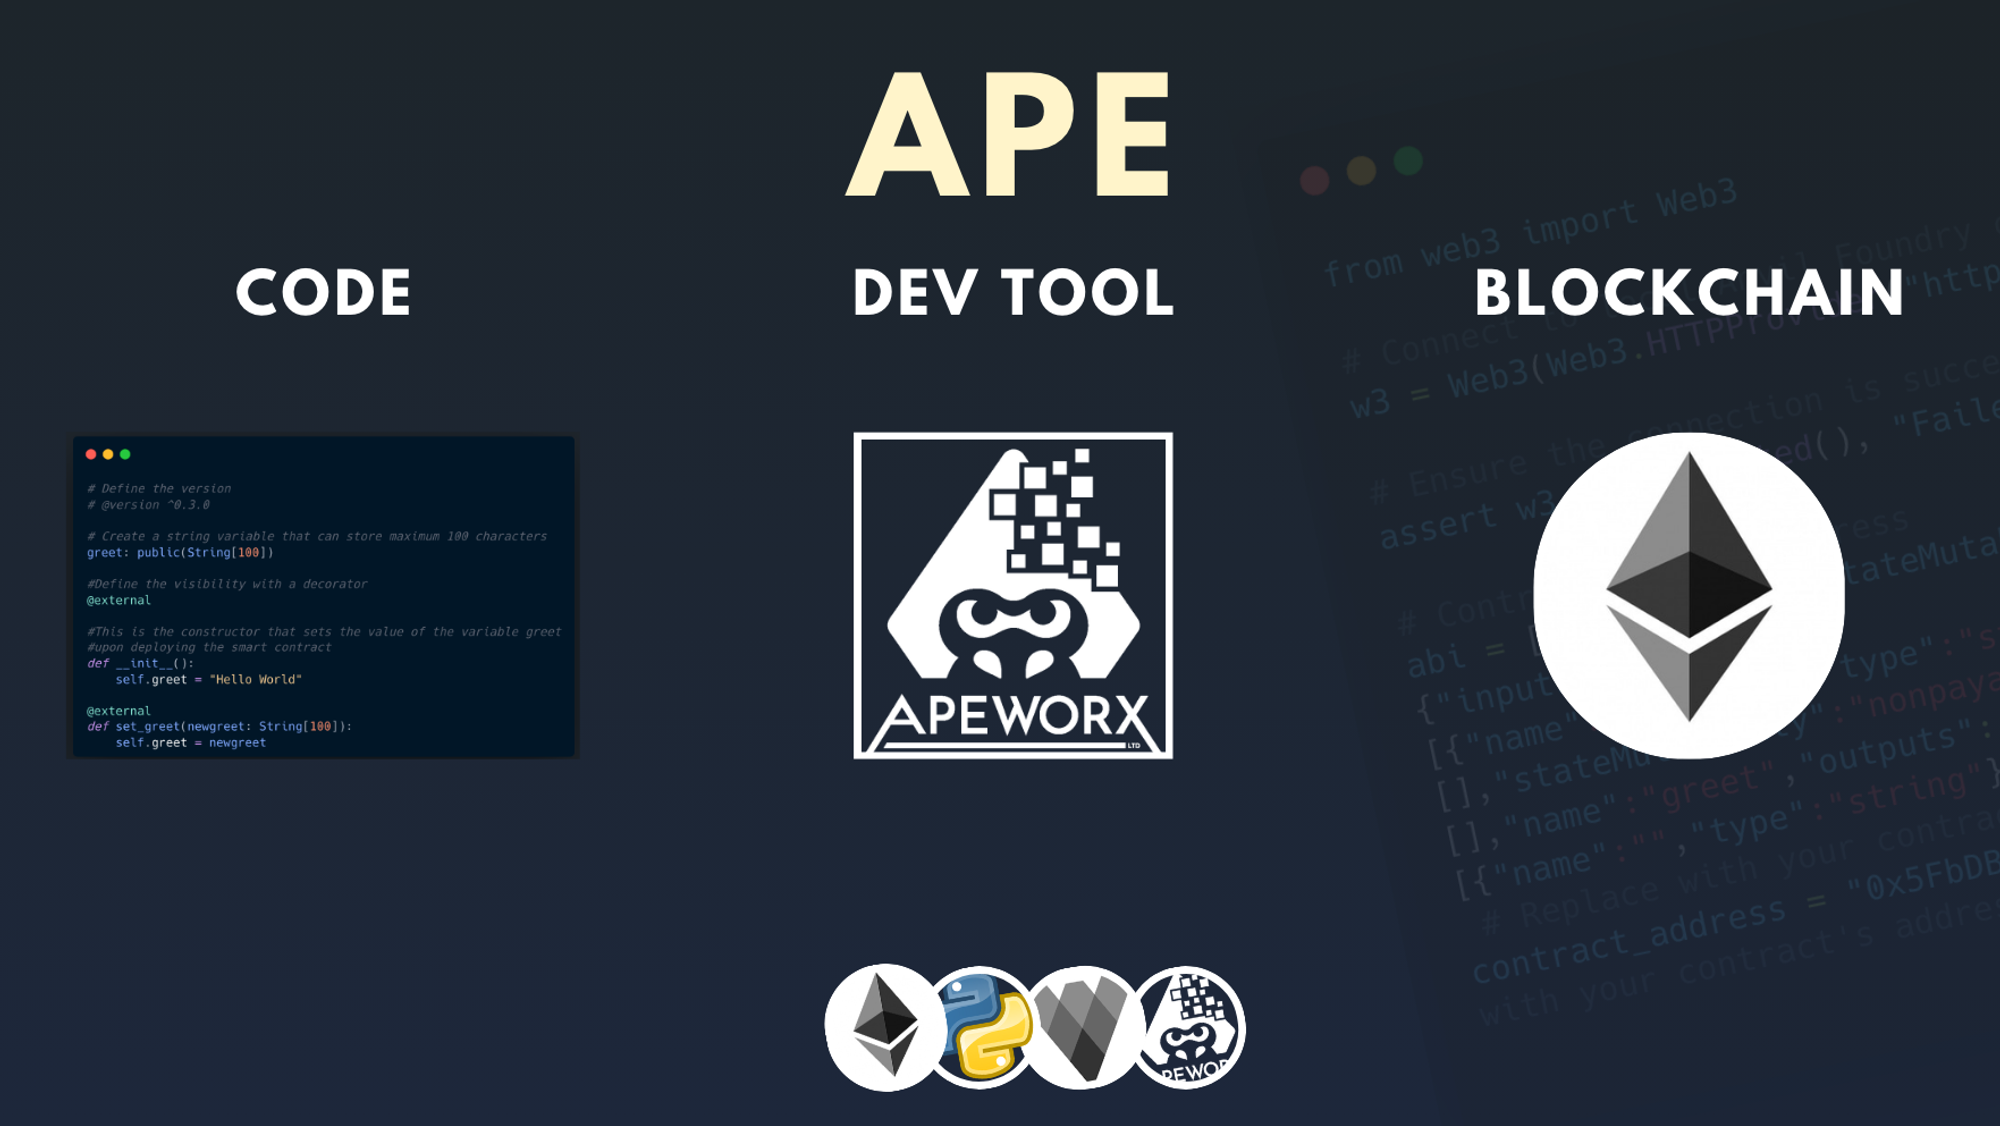
Ape
Ape is a comprehensive toolkit for developing, testing, scripting, and deploying smart contracts, making the whole process smoother. Ape supports an ecosystem of plugins, so you can quickly configure the tools you need.
Ape-Vyper Plugin
This plugin is an extension for the Ape toolkit that integrates the Vyper compiler, letting you easily develop and compile Vyper smart contracts.
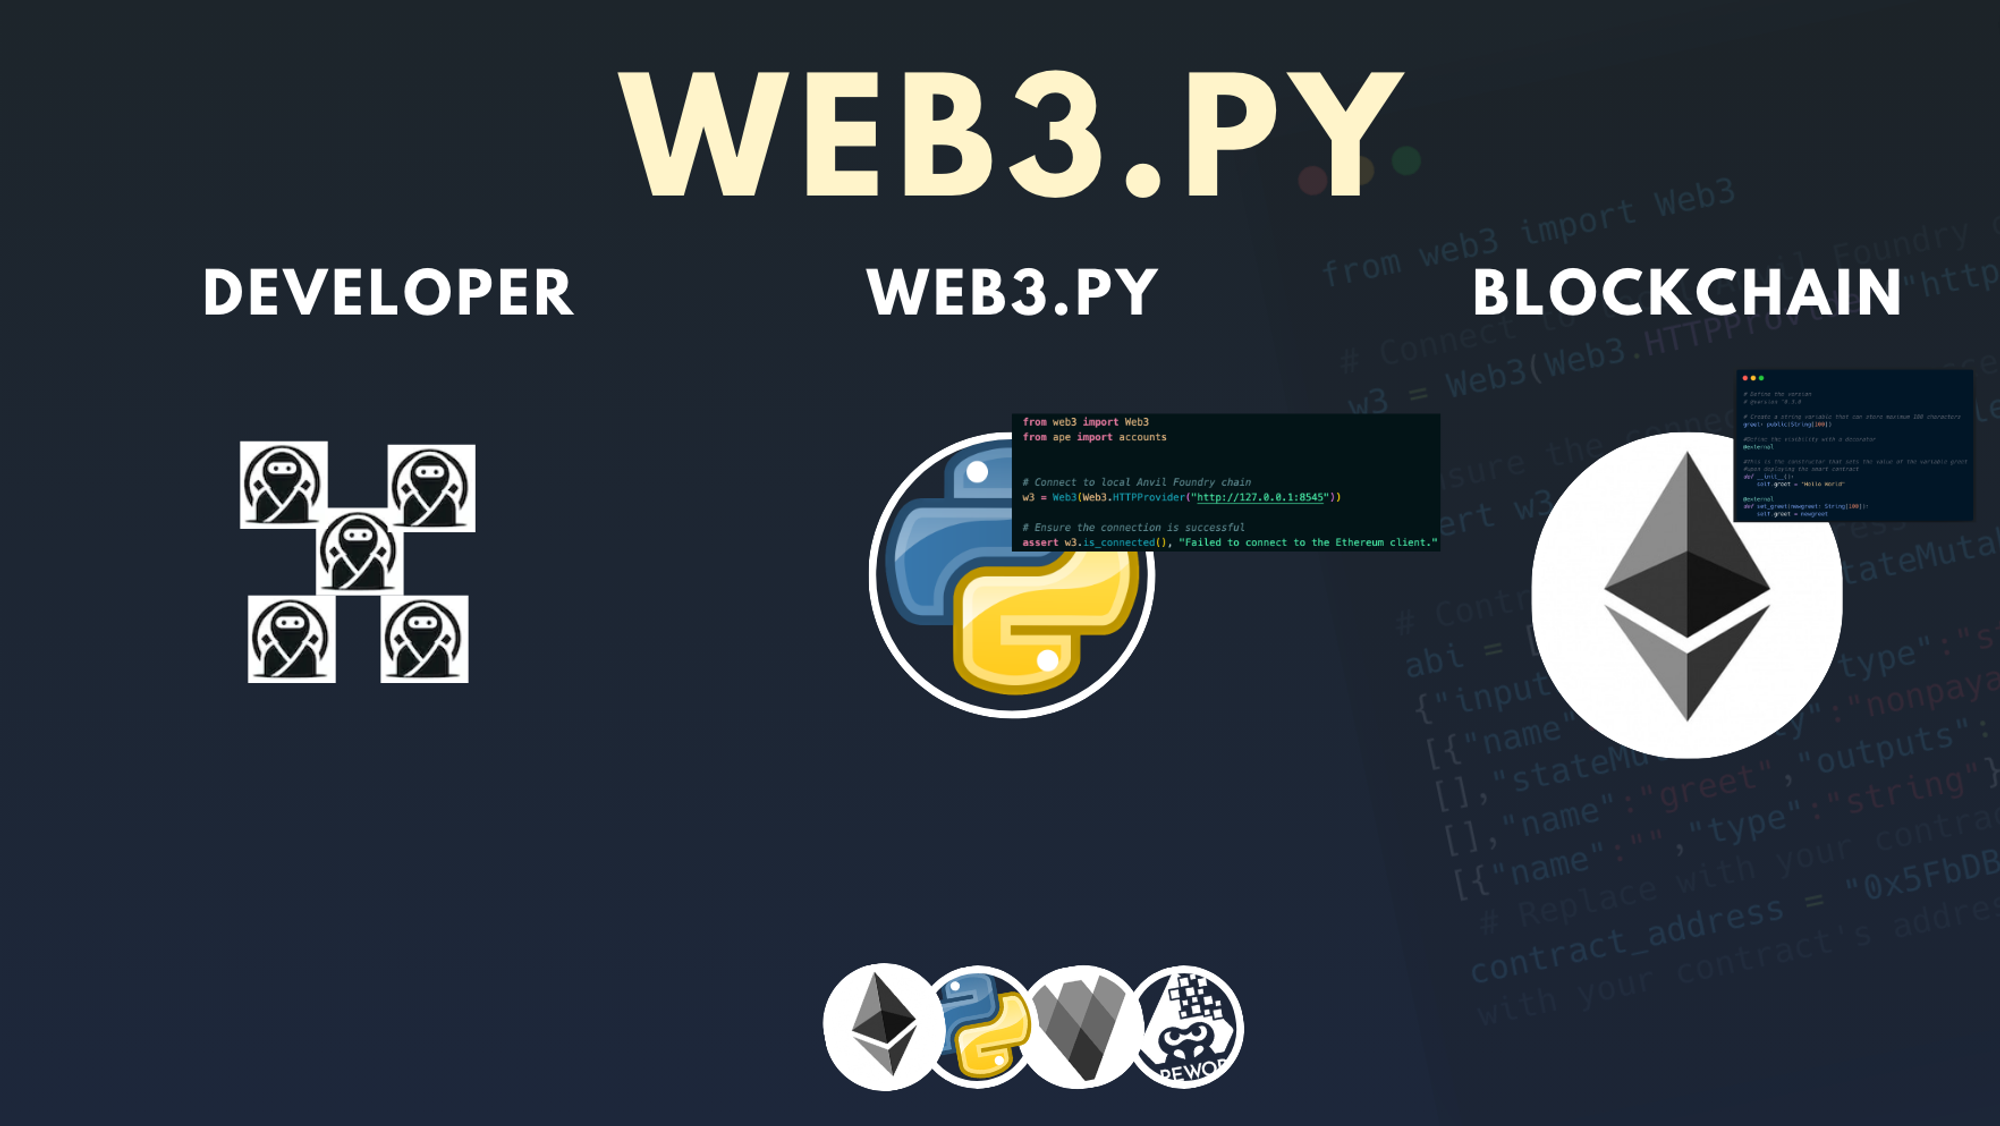
web3.py
web3.py is a Python library for interacting with the Ethereum blockchain, allowing you to connect to a network, read data, and execute transactions.
Foundry & Anvil
We will run the tests on a local blockchain called Anvil. The easiest way to run this is by installing Foundry. Follow the steps here to install Foundry, which will also install Anvil.
Create a project with Ape
Ape is a super tool for building apps on the blockchain. It makes the tricky job of working with smart contracts a lot easier, opening up the world of blockchain to more developers. The best part of all: we get to use Python, our favourite language.
Let’s get right into it.
First, lets create and navigate to a new folder, then create a new ape project:
mkdir hello_world
cd hello_world
Then use the following command to create the new project:
ape init
You will be prompted for a name for your project. I named mine hello.
Your first Vyper smart contract
So we know that Vyper is Pythonic, which means it’s very similar to python, with a few important differences in syntax. Rest assured, these are small adjustments. Let’s start nice and easy with a "Hello World" contract. Create a Hello.vy file and insert the code below. It contains a variable with some text and one function to set the value of that variable when we deploy the contract.
# Define the version
# @version ^0.3.0

# Create a string variable that can store maximum 100 characters
greet: public(String[100])

# Define the visibility with a decorator
@external

# This is the constructor that sets the value of the variable greet
# upon deploying the smart contract
def __init__():
    self.greet = "Hello World"

def changeGreet(_greeting: String[100):
	  # set greet to new greeting
		self.greet = _greeting
Before we compile and deploy, let’s take a closer look at each of the components of this contract.
Vyper Contract
A Vyper contract looks similar to a Python class. Classes are templates where you can define set of custom data structures and functions that can be reused. A Vyper contract uses a structure similar to a Python class with at least one important difference: no class declaration! In Vyper, each file contains one and only one contract. We can jump straight into declaring variables and functions.
Variable
After defining the compiler version, we declare our first variable. The structure of defining a variable is as follows:
<NAME>: <VISIBILITY>(<TYPE>)
So in our case we have a string named greet. Anyone can see this variable once we deploy our contract on chain, because it has public visibility.
Strings
Now, strings are special in Vyper. The number 100 defined inside our string refers to the amount of characters we can store in there. This pattern only applies to strings. In contrast, here’s an example of defining a number or a boolean:
greet: public(String[100])  # STRING
fav_num: public(uint256)    # INTEGER
flag: public(bool)          # BOOLEAN
The Visibility Decorator
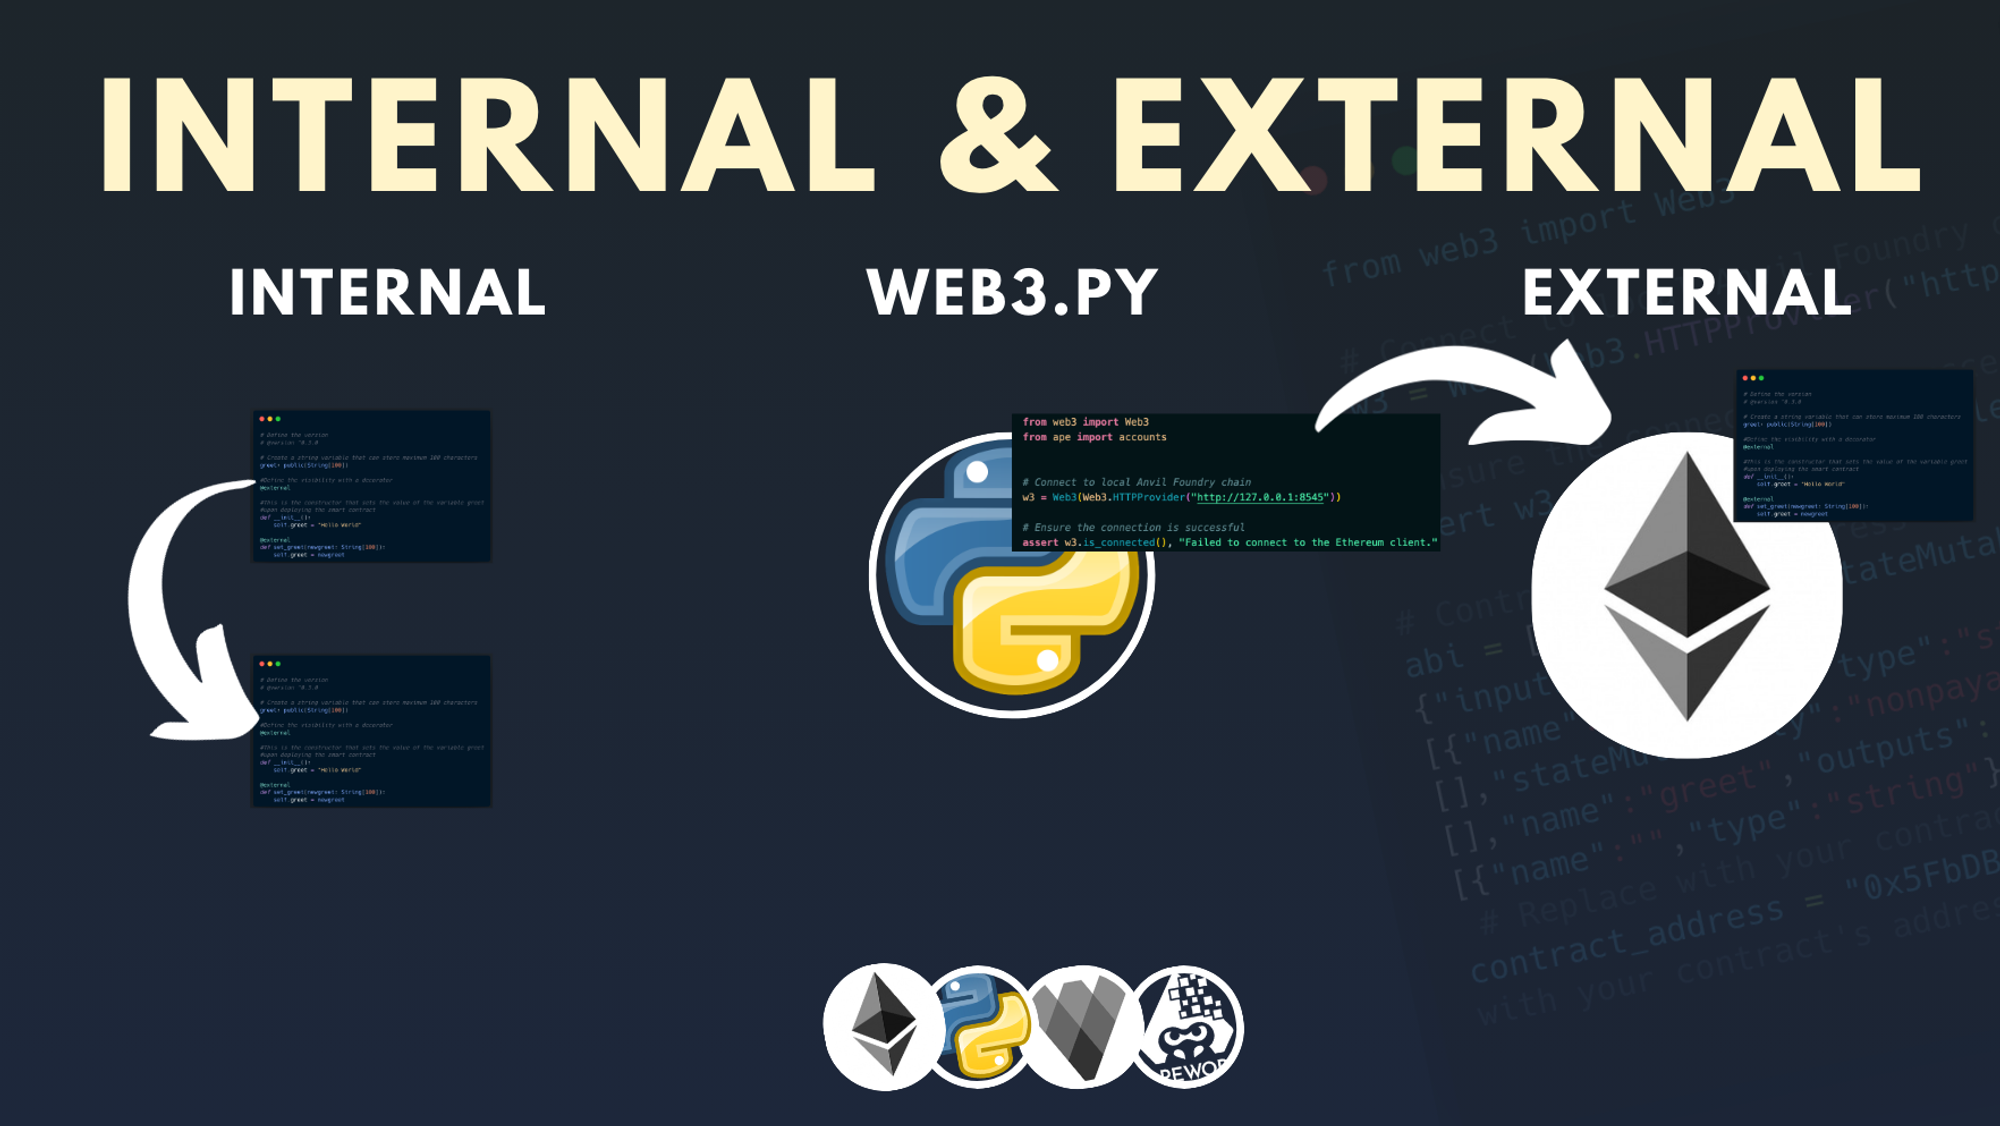
So what is this @external that we’re using? In Vyper, we can define who can see and interact with any function. There are two visibility types for functions: internal and external. To set the visibility, decorators can be used, a commonly used feature in the Python language. Let's examine what each visibility implies.
External functions can only be called via transactions and not internally. They're typically part of the contract's public interface and are used to expose functionalities that you want to make available to other users and contracts, e.g., transferring tokens, querying balances, or interacting with other contracts.
Internal functions can only be called within the contract or its derivatives and not via transactions. So this feature is useful for functions that are meant to be part of the contract's internal logic and should not be exposed as part of the contract's interface to the outside world. For example, a function that calculates an intermediate result, which is only relevant within the contract may be best defined as an internal function.
In our case we’re using the @external decordator for our constructor. What is a constructor? Next chapter.
Constructors in Vyper
If you’re coming from Solidity, you’re familiar with the constructor function. Vyper contracts have the same initialization function, just with Pythonic syntax.
For newcomers, the constructor function is a special function that only runs when a contract is being deployed. That’s it. After that, no one can call it.
Constructors are handy for setting the owner of the contract, pre-defining a token supply, or defining any other initial state.
In Vyper, the constructor borrows the syntax of Python class instantiation:
def __init__():
    ...
Again, anything in this method will be executed once, and only once, when the contract is deployed.
The ‘self’ keyword
You’ve seen this before in Python. self refers to the instance of a class. In Vyper, it refers to the contract. So when setting the value of a global or state variable, we write it out like this:
self.greet = "Hello World"
It's similar to how this is used in other programming languages like Solidity, Java, or C++.
Cool, that covers many of the fundamendals, so next we'll want to compile and deploy this basic contract. Before we can deploy, we’ll need an account to deploy from. Let’s set that up.
Create an account
When we deploy, we need to pass our private keys. There are a couple of ways to do it:
- Pass your private keys through the terminal - Only do this with dummy accounts
- Use a .env file - Only use this for dev environments
- Encrypt your key through the terminal - Best practise
Option #1 is best avoided. Re: option #2, the risk with a .env file is that you might commit it to Github and then your private key becomes public. We don’t want that.
Best practise is to pass it through the terminal and encrypt it. Ape allows this natively, so we’re going to use this method. Run the following command to get a list of accounts:
ape accounts list
Run the following command to create a new account:
ape accounts import <NAME>
So, as an example:
ape accounts import scrollsepolia
You will be prompted to pass in your private key and then a password. Don’t forget this password (duhh). Run ape accounts list to verify that your account got added.
Compile and Deploy
In order to deploy a contract, we first need to compile it. Compiling a contract means translating the human-readable source code of a smart contract (written in a programming language like Solidity, Vyper, etc.) into machine-readable bytecode that can be executed on the Ethereum Virtual Machine (EVM) or other blockchain platforms. Make sure you have the ape-vyper plugin installed, then run:
ape compile
This generate a file in the .build directory necessary to deploy our contract. Next step is to deploy our contract!
Deploy script
In this example, we're going to deploy the contract to a network called Scroll. We can deploy it directly from Ape's CLI tool, but it’s better to use a script. We have more control and it’s best practise, given that you can execute the same code, whether you're deploying to a testnet or the real thing. Within the scripts directory, create a new file, deploy.py, and add the following code:
from ape import accounts, project

def main():
    # Initialize deployer account and print balance
    dev_account = accounts.load("scrollsepolia")
    print(f'The account balance is: {dev_account.balance / 1e18} ETH')
    # Deploy the smart contract and print a message
    kw = { 'type': 0 }
    dev_account.deploy(project.hello, **kw)
    print("Contract deployed!")
This code is pretty intuitive, with the exception of this part:
kw = { 'type': 0 }
We’re passing a keyword argument with 'type': 0, because Scroll does not support EIP-1559 ("type 2") transactions. If that is gibberish to you, don’t sweat it. Just know that you need to pass this argument when deploying to Scroll networks.
Finally, run the following command to deploy your smart contract:
ape run scripts/deploy.py --network https://sepolia-rpc.scroll.io/
You will be asked if you want to sign the transaction. Say yes, then type in your password to unlock the account. You will be asked if you want to leave your account unlocked. I always say no.
Congratulations! You’ve written and deployed your first Vyper smart contract!
Interact with your smart contract
Great! We've got a deployed smart contract! Now we can use web3.py to interact with that contract. This is a small side quest to explore what it looks like to use web3.py.
In the root of your project directory, go ahead and create a file called hello_contract.py and paste in the following code:
# Import necessary libraries
import json            # Importing the json library for handling JSON data
from web3 import Web3  # Importing Web3 from the web3.py library

# Specify the URL of the blockchain node you want to connect to
rpc_url = "https://sepolia-rpc.scroll.io/"
# Create a Web3 instance and connect to the blockchain using the specified node
web3 = Web3(Web3.HTTPProvider(rpc_url))

# ABI (Application Binary Interface) for the smart contract
# This is a JSON string that describes how to interact with the contract
abi = json.loads('[{"inputs":[],"stateMutability":"nonpayable","type":"constructor"},{"inputs":[],"name":"greet","outputs":[{"name":"","type":"string"}],"stateMutability":"view","type":"function"}]')

# The Ethereum address of the deployed smart contract
address = "0x268d4A9c3Ba20C938B9f3Db634786aB93628A7Cb"

# Create a contract object using the Web3 instance, contract address, and ABI
# This object will be used to interact with the smart contract
contract = web3.eth.contract(address=address, abi=abi)

# Call the 'greet' function of the contract
# Since 'greet' is a public variable, it can be accessed as a function
# This call does not make any changes to the blockchain, it just reads data
greet_value = contract.functions.greet().call()

# Print the value obtained from the smart contract
print("Greet value:", greet_value)
Prepping before we start
Before running this hello_contract.py file, make sure you have anvil running in a different terminal and have a deployed contract. If you deployed a contract and then shut down the terminal, the script won’t work. The script is interacting with the contract that you deployed. When you close the terminal with anvil, you lose all your local test network deployments.
In your directory .build inside a .json file, you can find the ABI. Because my contract is named hello.vy, the file is named hello.json.
This JSON has one huge object (everything between square brackets). You need only the abi part. This is what mine looks like:
abi = json.loads('[{"inputs":[],"stateMutability":"nonpayable","type":"constructor"},{"inputs":[],"name":"greet","outputs":[{"name":"","type":"string"}],"stateMutability":"view","type":"function"}]')
Check out the example code on GitHub, if you want to know the exact part I took from my hello.json.
In your terminal, you'll find your smart contract address after deploying. You will need to pass that here:
# The address of the deployed smart contract
address = "0x268d4A9c3Ba20C938B9f3Db634786aB93628A7Cb"
Our variable greet has a visibility of public, so it’s "callable", like this:
greet_value = contract.functions.greet().call()
To run this script, in your terminal run:
python hello_contract.py
The output should look something like this:
Greet value: Hello World
Bonus: store past deployments
Now, if you’re like me and your terminal is sometimes just a bit of a mess, you may want your contract address stored somewhere. I've got some good news. You can adjust your deploy script (/scripts/deploy.py) like this:
from ape import accounts, project
from datetime import datetime

def main():
    contract_name = "hello"

    # Initialize deployer account and print balance
    dev_account = accounts.load("scrollsepolia")
    print(f'The account balance is: {dev_account.balance / 1e18} ETH')

    # Deploy the smart contract and print a message
    kw = { 'type': 0 }
    contract_class = getattr(project, contract_name)
    deployed_contract = dev_account.deploy(contract_class, **kw)
    print("Contract deployed!")

    contract_address = deployed_contract.address
    # Get the current timestamp
    current_time = datetime.now().strftime("%Y-%m-%d %H:%M:%S")
    # Write the contract name, address, and timestamp to a file
    with open("deployed_contracts.txt", "a") as file:
        file.write(f"{current_time}: {contract_name} - Address: {contract_address}\n")

    print(f"{contract_name} address {contract_address} recorded with timestamp.")
There's just a couple of new ideas in here. We use the getattr function to dynamically access the contract name to pass to the deploy function:
contract_class = getattr(project, contract_name)
Then, after a deployment, we write the name, date, and contract address to a local text file:
# Write the contract name, address, and timestamp to a file
with open("deployed_contracts.txt", "a") as file:
    file.write(f"{current_time}: {contract_name} - Address: {contract_address}\n")
Time to Test, Test, Test
Writing tests can be annoying. I know. But starting early builds confidence. The more you do it, the more value you get and the less annoying it becomes.
Luckily, our contract is super simple. We'll quickly set up our test suite, then write our first test function!
Create a Test File
Head over to the folder tests and create a new Python file. The name of the file should always start with test. Common practise is to include the contract name, so I named my file test_hello.py.
Writing super awesome tests
The anatomy of a Test Function
Before we write any, let’s check-out the anatomy of a test function. If we look at the Ape docs, we can see that tests have 3 parts:
- Set-up
- Invocation
- Assertion
Side note: this might sound familiar to Solidity courses where a structure of the 3 A’s is adhered to:
- Arrange
- Act
- Assert
Writing our first test functions
First we need to import the necessary libraries:
from ape import accounts, project
We have two functions in our contract that we need a test for: the constructor and set_greet() function. For the constructor, we need to check if the initial value has been set correctly. For the set_greet function, we need to set a new greeting and assert (check) if the result is equal to what we set the new greeting to.
Test Function 1: Initial Greeting
This is the complete test function:
def test_greet_initialization():
    test_account = accounts.load("anvil0")
    # Deploy the contract
    contract = project.hello.deploy(sender=test_account)

    # Check if the greet variable is initialized correctly
    assert contract.greet() == "Hello World", "greet variable not initialized correctly"
Let’s break it down!
Step 1: Load Your Anvil Account
In your Ape script, start by loading your preferred Ape account using Ape's accounts.load function. This account will be used to deploy the contract and send transactions. Replace "anvil0" with the alias of your Ape account:
# Load your preferred Ethereum test account
test_account = accounts.load("anvil0")
Step 2: Deploy Your Vyper Smart Contract
Next, deploy your Vyper smart contract using Ape. You'll need to specify the contract's name. If you've named your contract something else, replace hello with that name:
# Deploy your Vyper contract
contract = test_account.deploy(project.hello)
This step deploys your contract to the Anvil network, and contract will represent the deployed contract instance.
Step 3: Verify the Initialization of greet
Now, you want to verify that the greet variable is initialized correctly. You can do this by checking its value after deployment. Add an assertion to verify that it matches the expected initial value:
assert contract.greet() == "Hello World", "greet variable not initialized correctly"
This assertion checks if the greet variable is set to "Hello World" as expected. If not, the test will fail with the specified error message.
Step 4: Run the Test
Now, you can run your test script with the command ape test --network ::foundry -s. The -s flag allows you to use your account to sign the message. When you specify the foundry network flag, Ape spins up a local anvil chain, specifically for this test. If you have anvil running in a separate terminal, this command will throw an error. Either close anvil or run the following command to run the test ape test --network http://localhost:8545 -s. Make sure to include the port number where anvil is running; 8545 is Anvil's the default port.
If everything is set up correctly and the greet variable is initialized as expected, the test should pass.
If you've got a passing test, awesome! Let’s move on to write a test for the next function.
Test Function 2: Set New Greeting
Step 1: Load Your Anvil Account
In your Ape Python script, start again by loading your preferred account using Ape's accounts.load function. This account will be used to deploy the contract and send transactions. Replace "anvil0" with the alias of your Ape account:
from ape import accounts

# Load your preferred Ethereum account
deployer = accounts.load("anvil0")
Step 2: Deploy Your Vyper Smart Contract
Next, deploy your contract using Ape. You'll need to specify the contract's name (replace 'your_contract_name' with the actual name of your contract):
from ape import project

# Deploy your Vyper contract
contract = deployer.deploy(project.your_contract_name)
This step deploys your contract to the Anvil network, and contract will represent the deployed contract instance.
Step 3: Define the New Greeting Message
Now, define the new greeting message that you want to set using the set_greet function. For example:
new_greet = "Hello, Ape!"
Step 4: Call the set_greet Function
Call the set_greet function of your Vyper contract to update the greeting message. Make sure to specify the sender as the deployer account to sign the transaction:
contract.set_greet(new_greet, sender=deployer)
This line of code sends a transaction to the Anvil network to execute the set_greet function with the new greeting message.
Step 5: Verify the Updated Greeting
To ensure that the set_greet function has updated the greeting message successfully, use an assertion to check the greet variable in the contract:
assert contract.greet() == new_greet
This assertion confirms that the greet variable now holds the new greeting message you set.
Step 6: Run the Test
Now, you can run your test script. If everything is set up correctly and the set_greet function works as expected, the test should pass. Run the following command:
ape test --network ::foundry -s
That’s it! You’ve mastered the basics of testing with Ape. Pat yourself on the back, this is no small feat!
Conclusion
We covered a lot of ground! In this lesson, we learned how to set up a virtual environment, then create a new project with Ape. We wrote, compiled, and deployed a simple Vyper smart contract. Finally, we interacted with the contract using web3.py, and wrote a couple tests for the contract within Ape.
Test yourself to see if you've retained the information by taking the quiz below.
Connect your wallet and Sign in to start the quiz